



Introduction
Moonroom is a small exhibition of real Apollo photographs. Your current exhibition already shows one photograph and working links to the original image files. It does not yet offer the collection's independent keyboard-operated photo cards. You will read that small working page, connect a semantic card to its data, generate the complete collection, and adapt its layout. A separate Study collection shows the completed browsing experience first.
You need basic HTML structure, CSS selectors and layout, and JavaScript objects, arrays and DOM events. This lab introduces figure, figcaption, native buttons, stable photo IDs, forEach, dataset and the responsive rules it uses. The detailed viewer is prepared in this first lab; you build that behavior in the next one. The author estimates 50 minutes, including reading and ordinary editing mistakes.
Use WebIDE to make local edits in /home/labex/project/moonroom, Gallery to use the website, and Terminal only when a terminal instruction explicitly asks for it. Opening an entry does not reset your work. Edit only index.html, gallery.js and styles.css; preserve photos.js, viewer.js, images/ and credits.html. Keep every image and metadata value associated with its original ID. Let each website page finish loading before activating its controls. Website labels remain English. These practical keyboard checks are not a complete accessibility certification.
Connect One Photograph to Its Meaning
In this step, compare two working ways to see a photograph, then change only the existing card so it opens the prepared detailed viewer.
Switch to Gallery and choose the website link Study collection. This is a separate prepared example, outside your editable workspace. Press Tab until the first Earthrise photo button has a visible focus indicator, then press Enter. The panel shows Earth above the lunar horizon. Press Esc: focus returns to that same card. Open the other Earthrise too. Its picture and Apollo 11 caption differ from the first photograph's Apollo 8 context. Predict what would go wrong if a program selected a photo by its repeated title.
Choose the website link Current exhibition. Your page has one ordinary photograph link, not a photo-opening button. Activate that link to view the real larger image file, then use the browser's Back command to return. The Original image files section also offers real file links for the whole collection. This basic browsing already works; it is not the completed card/dialog experience. Website links and browser Back are different from switching LabEx entries.
Switch to WebIDE. In the left Explorer, expand moonroom under project and open photos.js. If the file tree is hidden, choose View → Explorer. The workspace is /home/labex/project/moonroom; check the folder and filename before editing. The photos array contains one object per photograph:
| Field | Meaning |
|---|---|
id |
Stable identity, such as earthrise-eight; titles can repeat. |
thumbnail |
The real smaller local image used on a card. |
large |
Its corresponding larger local rendition. |
alt |
Meaningful text describing the picture for someone who cannot see it. |
title and caption |
Visible name and distinguishing context. |
Read the first and third objects without changing them. Their titles match, but their IDs, paths and captions do not. For the first object, the thumbnail is images/earthrise-eight-thumb.jpg and the larger image is images/earthrise-eight.jpg. Relative image paths are resolved from the HTML page, not the editor's current folder. Capitalization and the .jpg extension matter.
Open index.html in the same file tree. Read the three script links: photos.js supplies records, gallery.js will construct cards, and viewer.js supplies the prepared viewer. defer executes them after parsing the HTML, in their listed order. Keep those lines and the surrounding page. The existing figure groups the picture with its figcaption; its anchor currently opens the file directly.
A native button receives Tab focus and activates with Enter. A clickable div does not provide those behaviors automatically. type="button" explicitly states the button's purpose. The supplied viewer listens for data-photo-id on this opening button. Its nearest complete card container uses the same ID in data-photo-card. These are internal data attributes, not text for visitors. Additional wrappers are allowed if the button and matching visible caption belong to that nearest container.
alt describes the image. aria-label gives the control a short accessible name, Open Earthrise. Because that name repeats, aria-describedby connects it to a caption through the caption's unique id. An accessible name identifies a control; an associated description adds context. Here the Apollo 8/Apollo 11 context distinguishes identically named controls without depending on sight or mouse hover. A background image or placeholder cannot replace the actual image description.
Use the editor's Find command, Ctrl+F or Cmd+F, to find id="gallery", then close Find with Esc. Select only the existing section from its <section id="gallery" ...> opening line through its matching </section>. Replace that section with the following. Keep the header, original-file links, footer, script links and dialog around it.
<section id="gallery" class="photo-grid" aria-label="Photographs">
  <figure data-photo-card="earthrise-eight">
    <button type="button" class="photo-button" data-photo-id="earthrise-eight" aria-label="Open Earthrise" aria-describedby="caption-earthrise-eight">
      <img src="images/earthrise-eight-thumb.jpg" alt="Blue and white Earth above the grey lunar horizon">
      <span class="photo-name">Earthrise</span>
    </button>
    <figcaption id="caption-earthrise-eight">Apollo 8 · Earth above the Moon, December 1968.</figcaption>
  </figure>
</section>
Save with Ctrl+S or Cmd+S. While changes are pending, the tab may show an unsaved indicator. If Auto Save is enabled, it may save the changes and clear that indicator automatically; still use the save shortcut before refreshing Gallery to confirm your result. To undo a mistaken local edit, use Ctrl+Z or Cmd+Z, inspect what changed, and save again. Ctrl+Shift+Z or Cmd+Shift+Z redoes an undo. Do not select and replace the whole document when only this section needs changing.
In this saved step-1 checkpoint, Explorer shows the moonroom files and index.html contains one figure inside the gallery section. Keep the surrounding scripts and Original image files section. This is the intermediate single-card edit; the full collection is built in the next step.
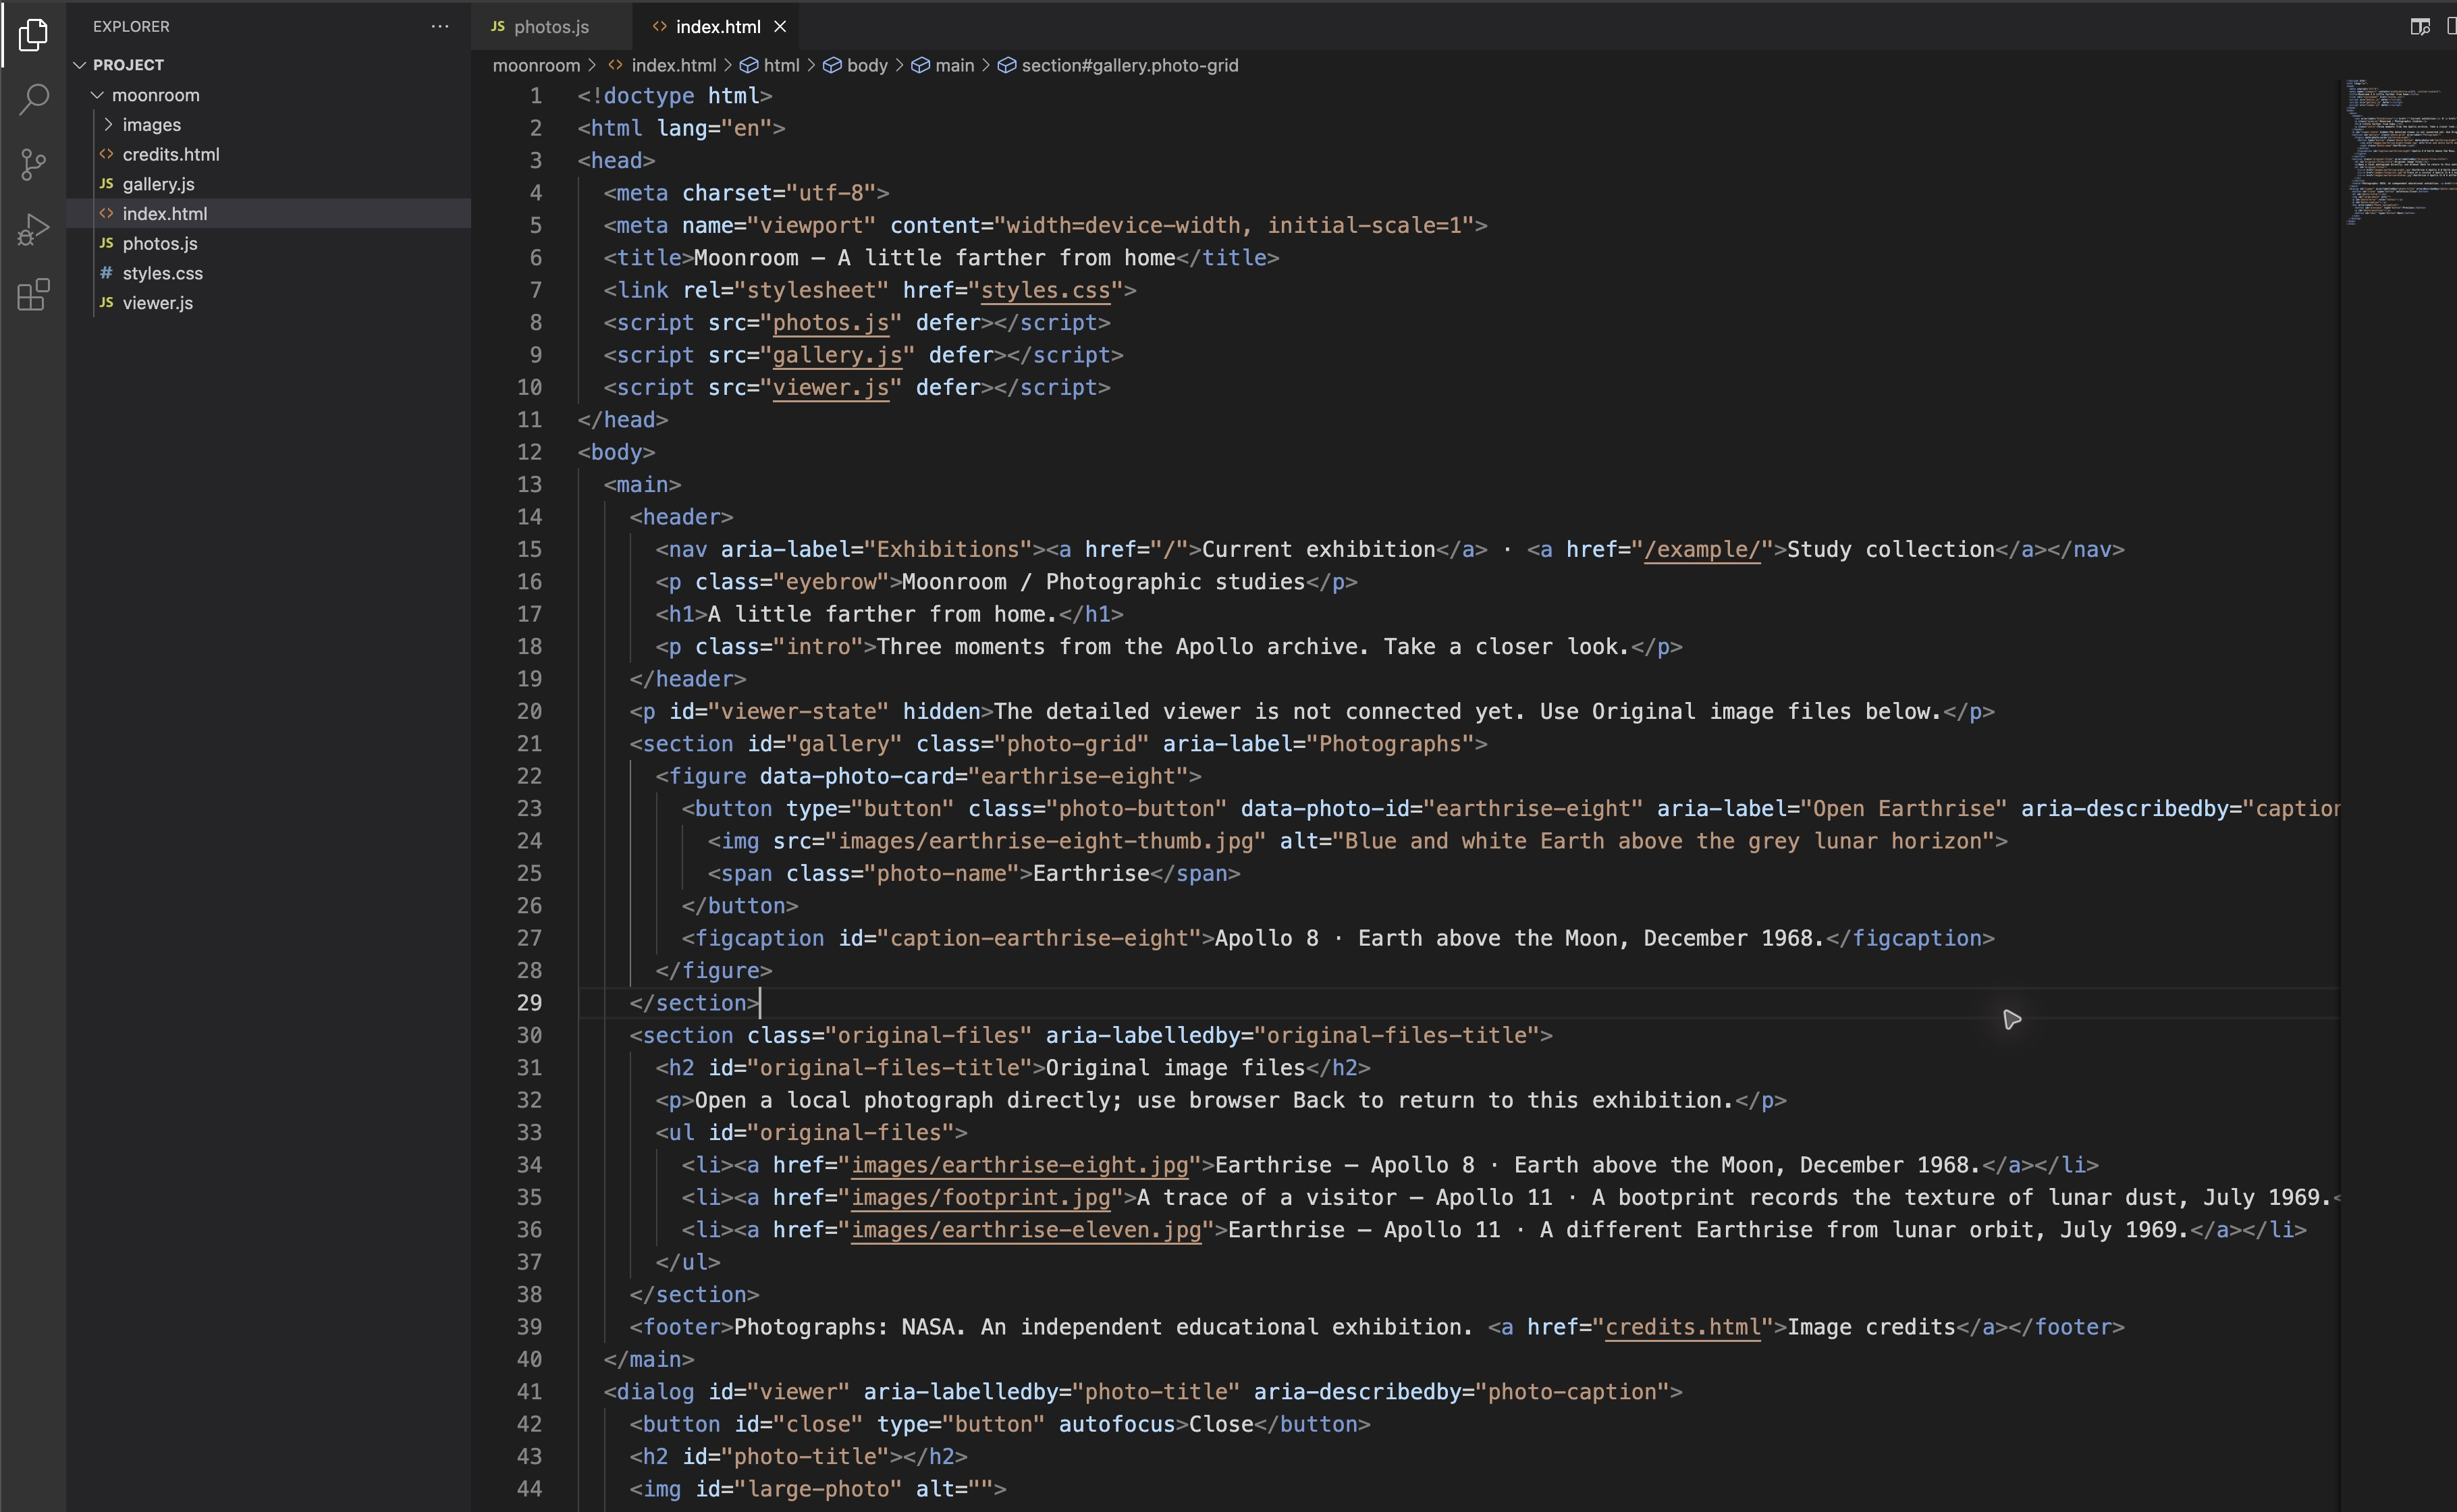
Before refreshing, predict: will activating this element navigate to the JPG file, or open the dialog? Switch to Gallery, refresh Current exhibition, then use Tab and Enter on the first Earthrise. The prepared viewer should now show its matching real larger image and Apollo 8 caption. Esc must return focus to this same card. This proves that the button's stable ID connects to a record, not just that a photo happens to be visible.
If the picture is broken or no panel opens, return to WebIDE and inspect this section: the image path, matching IDs, quotes and closing tags. Confirm the saved filename and folder. Undo the last mistake or restore only this section from the block above; save and refresh the website. Do not reset the environment or replace the picture to hide a bad path. Run this step's check after the actual card and Enter/Esc path work. Checks observe your current exhibition, never the separate example.
Render Every Record Without Losing Identity
In this step, turn the semantic relationships you just built into a reusable card function, then use it for every supplied record.
Switch to WebIDE and compare the three objects in photos.js again. Predict which values belong on the container and button, which describe the image, and which should be visible text. The finished gallery needs exactly one independent visible opening button for every supplied ID, in the supplied order. Its real thumbnail, title, alternative text and caption must match that record. Keep the original data.
Open gallery.js. It already contains const gallery = document.querySelector('#gallery');. This selects the element whose id is gallery; leave that binding in place. The current one-photo content is still in index.html. You will replace its contents at runtime, rather than copy the whole HTML page or append duplicate cards.
document.createElement() creates an HTML element in memory. Setting textContent inserts text rather than parsing it as HTML. append() inserts elements in the listed order. These operations will reproduce the figure/button/image/caption relationships from your local HTML edit.
dataset reads and writes data- attributes. JavaScript uses camel case: figure.dataset.photoCard writes data-photo-card, and button.dataset.photoId writes data-photo-id. Both use photo.id; the visible title uses photo.title. Each caption gets a unique id by joining caption- and photo.id, and the button's aria-describedby refers to that ID. setAttribute() sets an attribute such as aria-label; + joins Open with the title. No template-string syntax is needed.
Below the existing binding, add this complete addPhoto function. Its photo parameter receives one whole record. Read each assignment as an answer to your prediction before saving:
function addPhoto(photo) {
  const figure = document.createElement('figure');
  figure.dataset.photoCard = photo.id;
  const button = document.createElement('button');
  button.type = 'button';
  button.className = 'photo-button';
  button.dataset.photoId = photo.id;
  button.setAttribute('aria-label', 'Open ' + photo.title);
  const image = document.createElement('img');
  image.src = photo.thumbnail;
  image.alt = photo.alt;
  const title = document.createElement('span');
  title.className = 'photo-name';
  title.textContent = photo.title;
  const caption = document.createElement('figcaption');
  caption.id = 'caption-' + photo.id;
  button.setAttribute('aria-describedby', caption.id);
  caption.textContent = photo.caption;
  button.append(image, title);
  figure.append(button, caption);
  gallery.append(figure);
}
Merely defining a function does not call it. Predict whether saving only this addition would change the page: it would not. Next, replaceChildren() will empty the gallery, removing the temporary hand-written card. photos.forEach(addPhoto) calls your function once per record, in order, passing the current object each time. This is repeated work like a loop, not a search by title.
Add this small function and its call below addPhoto, then save. Keep the function you just wrote unchanged:
function renderCollection() {
  gallery.replaceChildren();
  photos.forEach(addPhoto);
}

renderCollection();
Switch to Gallery and refresh Current exhibition. You should see Earthrise, A trace of a visitor, and the second Earthrise in that order, with visible captions below their buttons. The bootprint is a portrait photograph; Earthrise images are square. Next you will frame thumbnails consistently while preserving those different shapes in the detailed viewer.
Use Tab and Enter to open each card separately, and Esc after each view. The first Earthrise has Apollo 8 context; the last has Apollo 11 context. The last card must return focus to itself, not always the first. Compare the picture and caption together rather than trusting a repeated title.
If the old single card remains, confirm that gallery.js is saved and that the final renderCollection(); call exists. If it becomes empty or pictures break, return to WebIDE, find addPhoto, and inspect property names such as thumbnail, closing braces and parentheses. Undo a mistaken edit, or restore only the affected function from its block, then save and refresh. Do not alter photos.js to make records alike. Run the check after all records and their separate views match.
After undoing a misspelled property, inspect the restored photo.thumbnail in addPhoto and save. The existing selection in this real editor checkpoint identifies that property; the complete renderCollection function and its final call remain below. Refresh Current exhibition to check the real thumbnails again.

Make the Grid Adapt and Show Keyboard Focus
In this step, edit the card layout and focus rules while keeping the prepared exhibition styling and viewer intact.
Switch to WebIDE and open styles.css. Read the existing rules before changing them. The body, heading, original-file links and dialog already have their non-target styling. The current .photo-grid uses block layout, so cards remain on separate rows even when there is room. The browser also supplies an automatic focus outline. You will make the layout responsive and give keyboard focus a clearer, consistent appearance; you are not starting with an entirely unstyled website.
Find .photo-grid with Ctrl+F or Cmd+F, close Find with Esc, and replace only that rule. In flexbox, display: flex starts a row, flex-wrap: wrap allows another row and gap separates cards:
.photo-grid { display: flex; flex-wrap: wrap; gap: 28px; }
Find the rule beginning figure { and replace only it. flex: 1 1 260px allows growth and shrinking from a preferred width of 260 pixels. min-width: 0 lets long content shrink inside a card instead of forcing the whole page wider:
figure { flex: 1 1 260px; min-width: 0; margin: 0; }
Find .photo-button img. Its current automatic height preserves the original shape, but produces different thumbnail frames. width: 100% fills the card width; aspect-ratio: 4 / 3 creates a common frame. object-fit: cover crops displayed edges to fill it without changing image bytes. Replace only that rule:
.photo-button img { display: block; width: 100%; aspect-ratio: 4 / 3; object-fit: cover; border-radius: 4px; }
Compare this with the existing dialog img rule, which you must keep: object-fit: contain, max-width and max-height preserve the whole larger photograph. vw and vh are hundredths of viewport width and height. The prepared heading uses clamp() to grow between limits; min() caps the dialog width, and overflow-wrap: anywhere wraps very long titles. Predict which photograph will look most different in a cropped thumbnail versus its whole detailed view.
Finally find button:focus-visible, a:focus-visible. :focus-visible selects controls whose keyboard focus should be shown. A high-contrast outline and outline-offset make the current control easy to see without moving the layout. Replace only its automatic-outline rule:
button:focus-visible, a:focus-visible { outline: 3px solid #af421f; outline-offset: 5px; }
Save the file. Do not remove the browser indicator without an alternative. This project accepts a distinct focus outline at least 2 pixels wide, a distinct visible border at least 2 pixels wide, or a visible box shadow that appears with keyboard focus. Equivalent layout and colors are welcome when the same behavior remains observable.
Read the lower prepared rules without replacing them. ::backdrop styles the background behind a modal dialog, :disabled distinguishes unavailable controls and [hidden] must really hide an image despite the ordinary display: block rule. The reduced-motion media query respects the browser preference; the exhibition has no animated transitions.
Switch to Gallery, refresh Current exhibition, and compare wide and narrow layouts. Near 1440 pixels, cards share a row; near 390 pixels, they form a single readable column. Check an intermediate width near 768 pixels too. No horizontal page scrolling, clipped title or missing card should appear. Open the bootprint: its whole portrait shape must remain, even though its thumbnail has a common cropped frame.
Press Tab through the website links and all three photo buttons. Compare the explicit focus outline with the earlier automatic one. Enter opens the focused photo, and Esc returns to that same card. Open Image credits and confirm the real page lists the NASA sources, then choose Current exhibition to return. These are website links, separate from switching WebIDE and Gallery.
If a change has no effect, check that you saved styles.css in moonroom and that index.html still links to it. If cards stay in a column at wide width, inspect the .photo-grid and figure rules together. If a card forces horizontal scrolling, inspect its shrinking and image width. Undo or restore only the affected rule, save and refresh. Preserve every photo and the prepared viewer rather than hiding a difficult card. Run both final checks after reviewing layout, keyboard viewing and the credits link.
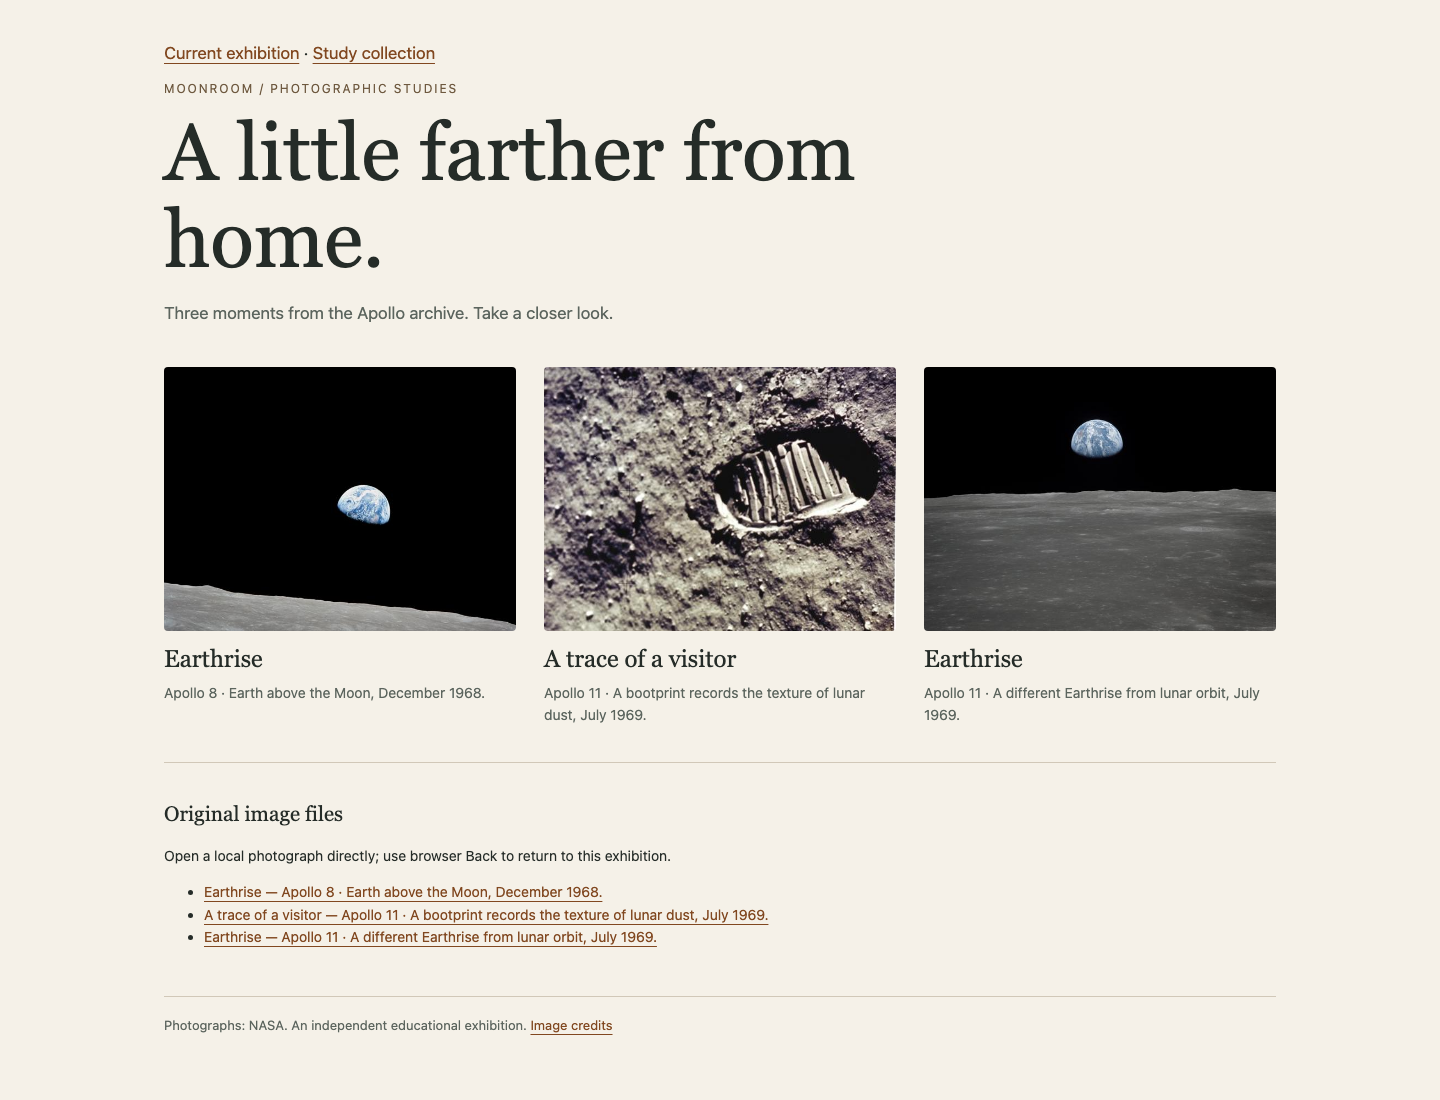
Compare the first and last Earthrise captions: their photographs come from different missions. The bootprint remains an independent middle card. The same three cards stack on a narrow screen.
Summary
You connected a real image to its description, expanded one semantic card into a complete data-driven collection, and kept two identically titled photographs distinct through stable IDs. Your responsive grid preserves all cards, real image content and visible keyboard focus. In the next lab you will build the detailed viewer yourself, including navigation boundaries and a recoverable image failure.